The last 2 - 3 months of on and off rain has made getting outside to work a challenge. During the winter break I optimistically carved a path across the front of our hillside with the intent of eventually retaining the slope. Lack of free time and bad weather have conspired against me so the project has been left to look like the below ...
 |
| Early January 2019... |
 |
| Early March, 2019 - nothing has changed. |
Surprisingly even with weeks of heavy rain my path didn't fall apart, slide down the hill or otherwise disintegrate.
Recently I found myself with a week off and no particular place to go. Perhaps the stars have finally aligned.
 |
| Starting on the Gabion Baskets |
When we bought our house we inherited a lovely, aggregate patio from 1968. Were these things ever considered attractive? I've removed a few sections over the years and getting rid of the rubble has been expensive and hard - until now. Well - it's still hard but at least the concrete chunks are useful as fill.
 |
| Source of Rubble for Baskets |
Our fence is a bit old too - in fact it's barely standing up. It might date from the 60's as well.
Along with the patio rubble I'm adding almost four yds of crushed drain rock for use as a footer, and backfill. The idea is to let water move through the baskets and avoid a build up of pressure. Each basket has a foot print of 3' x 2' and a height of 2' - 2.5', have a few internal wires for tension. They are not going anywhere and will eventually become part of the hillside itself. I'm going to add an extra basket on the end that will return into the hillside and hide the rubble edge shown above... should have done that first. oh well.
 |
| Gabion baskets filled with rubble and drain rock. |
 |
| Last basket in place and rough grade established | |
Hopefully this creates a space just big enough for a few people to hang out and enjoy the offsite views. The path will eventually wind all the way down to the side walk (and by eventually I mean years from now). Planting will hide onsite views from the street.
 |
| Two+ tons of Telluride Gold Drystack |
 |
| Mini-footer for the drystack wall |
While digging this footer, I moved about ten wheelbarrows of dirt down the hill to an undisclosed location.
 |
| Starting the drystack wall |
 |
| The wall doubles as informal seating |
Today's my last day of vacation so the path, the wall and any planting will have to wait until next time... but honestly - that's ok. My body needs a break.
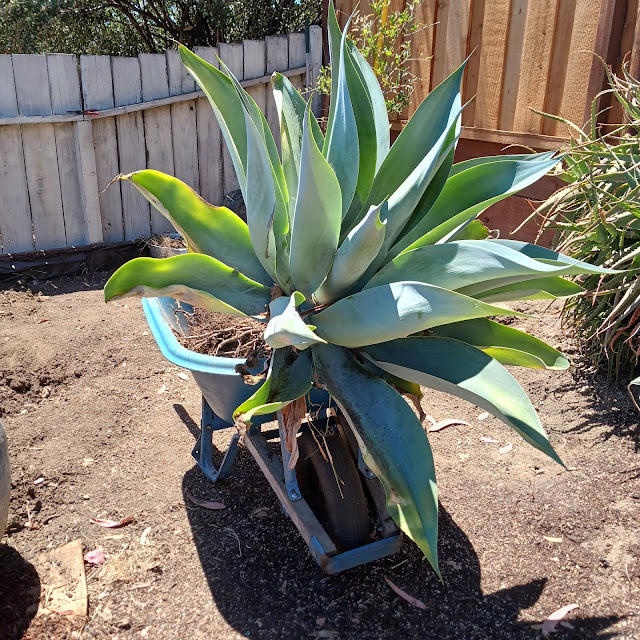
I really thought I'd finish this grading / retaining project AND get some plants in the ground. I was wrong. Below is a glimpse of the plants waiting to go in the ground. Clearly I will need to go shopping for more but that's not really a bad thing is it?
 |
| Plants enjoying a rare spot of sun - February, 2019 |
 |
| Agave Chrysantha |
 |
| Agave titanota Blue |
Happy Spring!


I am appropriately impressed and look forward to seeing this develop further...
ReplyDeleteThanks! I'm looking forward to it as well; I'd have more time if going to work didn't get in the way.
DeleteI can appreciate the hard work involved in this project! A retaining wall formed using gabion baskets will be perfect on that slope. Lucky you to have access to some rubble to fill them. I thought about that approach for my own back slope but I can't say my husband is on board. I look forward to seeing your progress.
ReplyDeleteThanks Kris. Funny thing is I'm not sure my wife was (or is) really on board! Lesson learned for me so far on this project - it's much cheaper to make the baskets than purchase but there is a trade off - aesthetics and time. Gabions purchased from a manufacturer are uniform in appearance, use a thicker gauge wire mesh and generally have a much more contemporary, polished look. So I suppose purchased baskets could be more appropriate in a highly visible space.
Delete